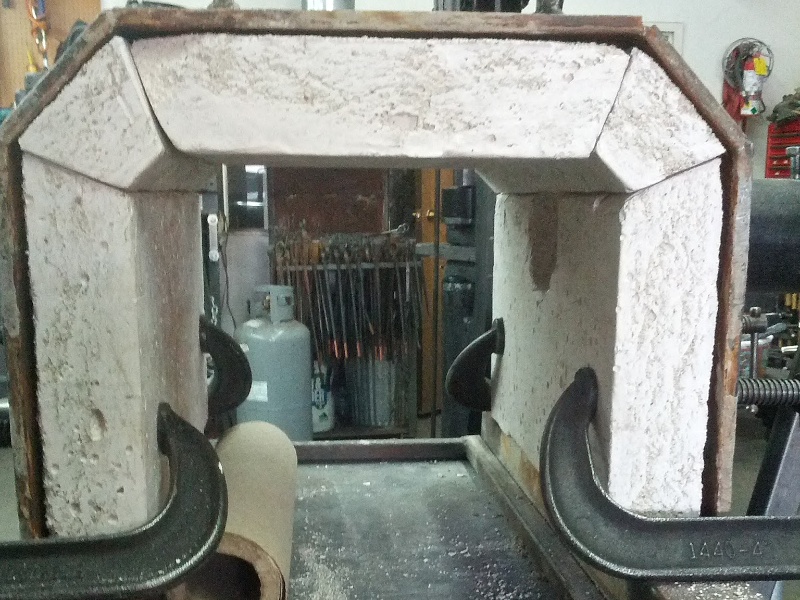
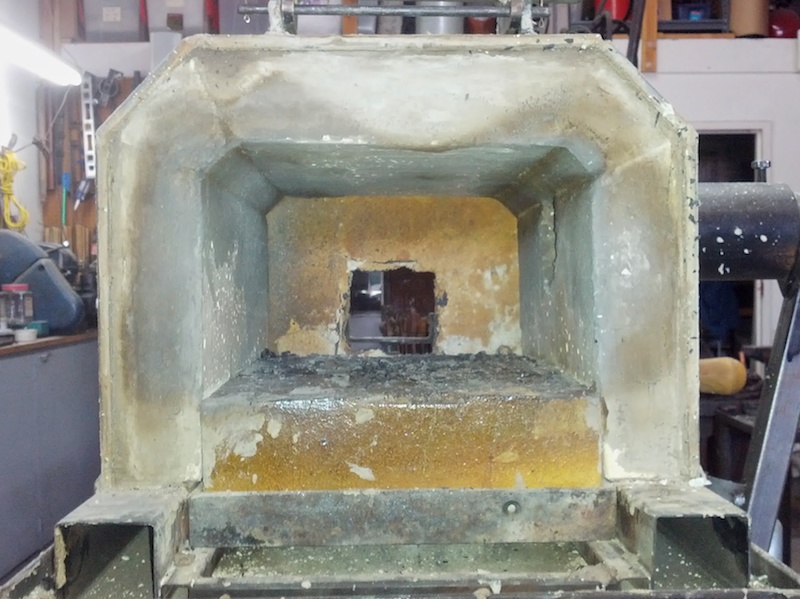
Here are some pictures of my recent forge rebuild. When I originally started to look into refractory concrete as an option, I noticed that there were not a lot of articles on the web describing the process of casting a forge shell from refractory concrete. While many of the steps are pretty straightforward and do not significantly differ from using regular concrete, some people might still find my experience with using Kast-O-Lite 30 LI useful. My need for a new forge arose after some extended forge welding and bloom consolidation caused the roof of my previous forge to cave in. After thinking of different ways to construct a new forge, I decided to go with refractory concrete as it can take more abuse than the kaowool based solution I had employed previously. Kast-O-Lite 30 LI seemed like it fit the bill with a maximum use temperature of 3000F which is not something I am likely to reach unless I am over boiling iron. For general forging, Kast-O-Lite 26 would have been better suited as it provides better heat insulation but I had the 30 LI concrete available. Here is an outline of the process:
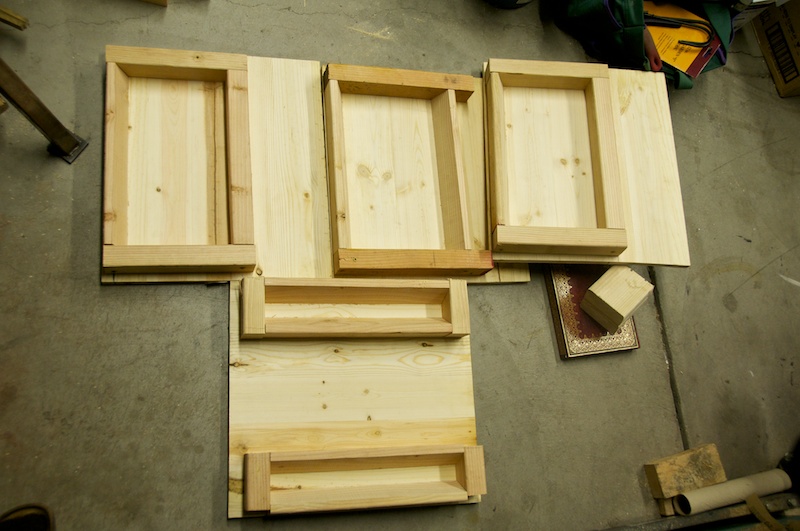
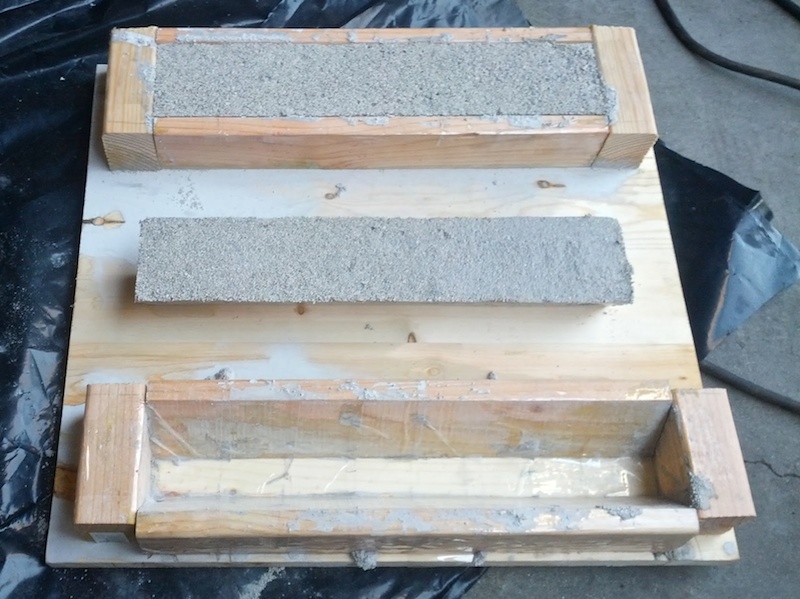
The construction used five pieces of concrete: Two sides, one roof, and two pegs. Where the pieces met, I had to split the angle, so used 22.5 degrees on each side of the different pieces. The end result was going to be a shell that would support itself. The first step was creating the forms from 2x4 and some wooden boards. The forge itself is about 13in long, and about 9in high. To get the angles, I used a bandsaw with a swiveling table that I could dial to 22.5 degrees. The measurements that determines the spacing of the pieces were all done on the outside and piece of 2x4 was attached to the board with wood screws. Here is how they looked like.
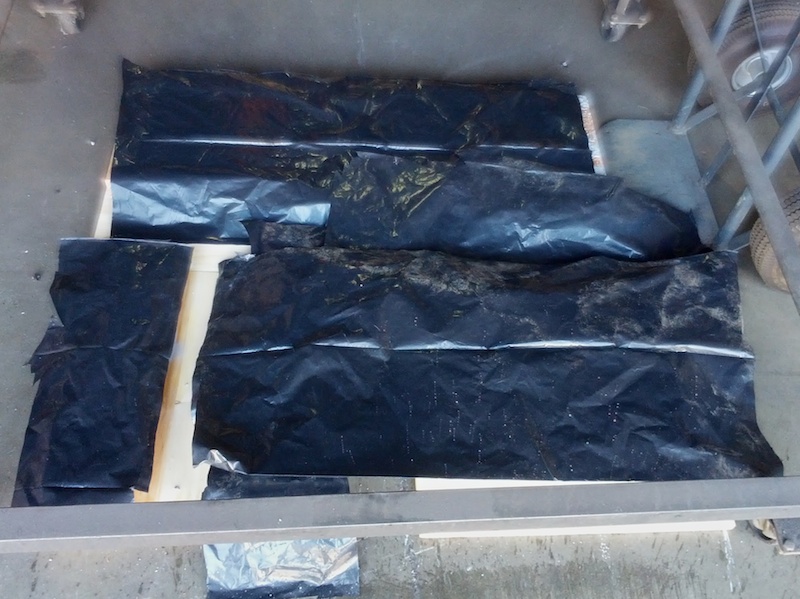
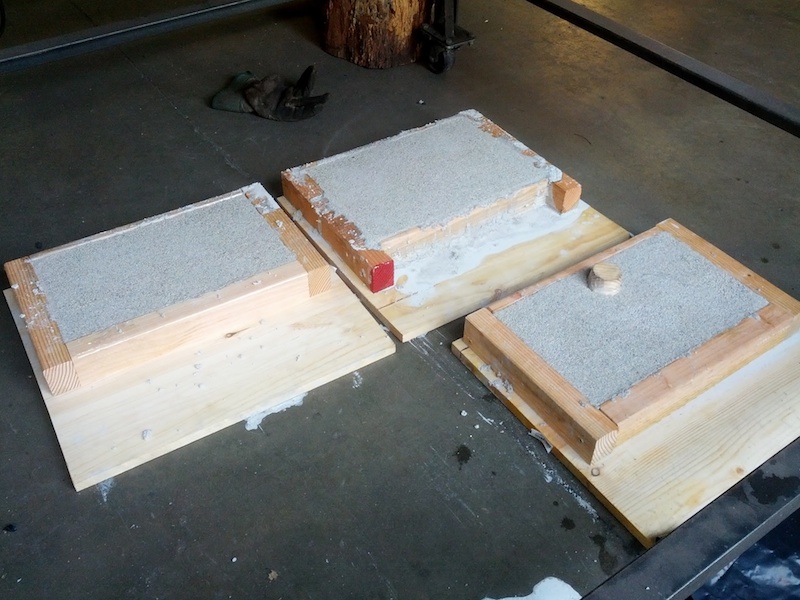
I lined them with packing tape since I did not want to spend the time to sand and coat them. The packing tape turned out to be more difficult to work with than expected, so next time using polyurethane and vegetable oil might be easier. I used almost the whole 55 pound bag to fill the forms. Kast-o-lite is mixed with 20% water by weight. Using a whole bag is recommended as the water can be measured more precisely then. I mixed this in a big 5 gallon bucket with a mixing attachment to my power drill. You are supposed to mix for 3 minutes and then cast within 10 minutes. Afterwards, the pieces need to dry for at least 24 hours and should be covered to slowly dry out the surface. Here is how that looked like.
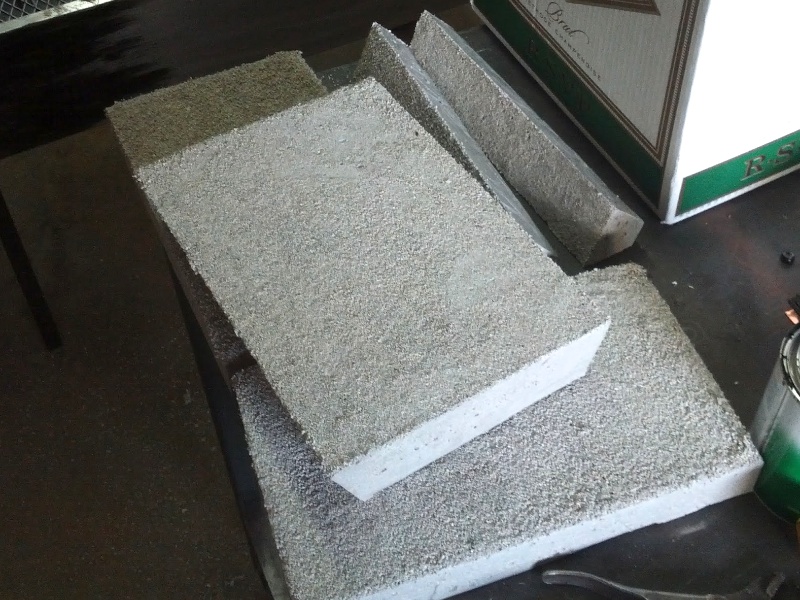
After drying out they had to remove from the forms which was not so easy. Essentially, I had to unscrew one of the wood pieces on each form to get enough leverage to lift the piece out.
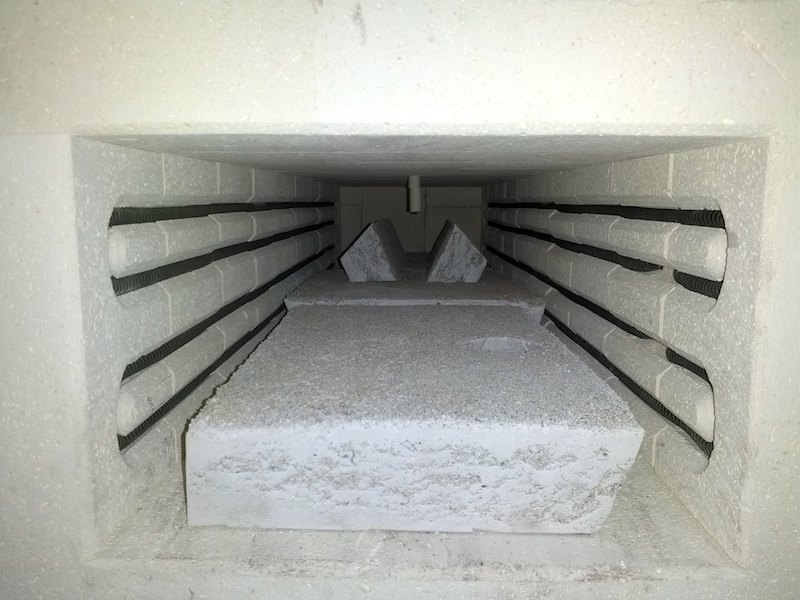
The curing schedule for Kast-o-lite is quite complicated and basically requires a programable oven. Since the pieces are all 2in thick, the curing schedule is as follows: Heat up to 250F with a rate of 100F per hour. Hold for one hour. Heat up to 500F with a rate of 100F per hour. Hold for one hour. Heat up to use temperature with a rate of 100F per hour. I heated it up to 1500F. The whole process took a little bit longer than 16 hours. Here are the cured pieces
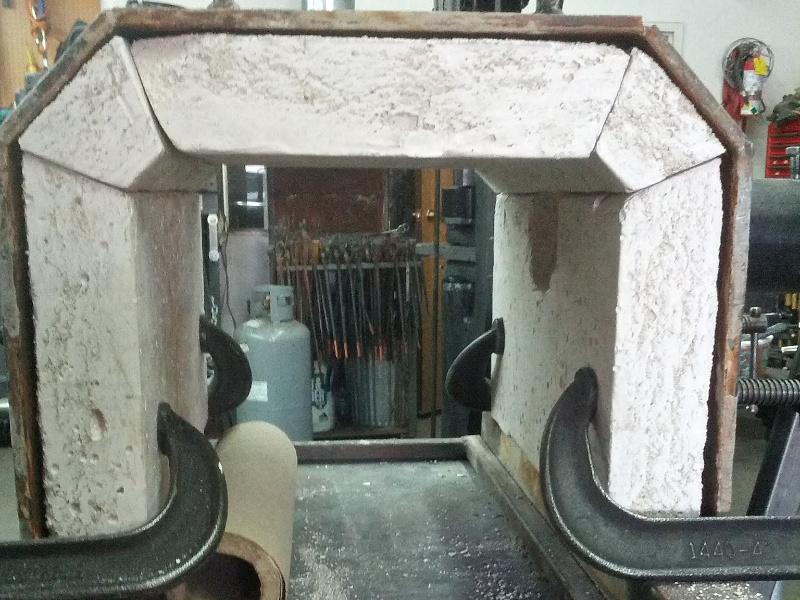
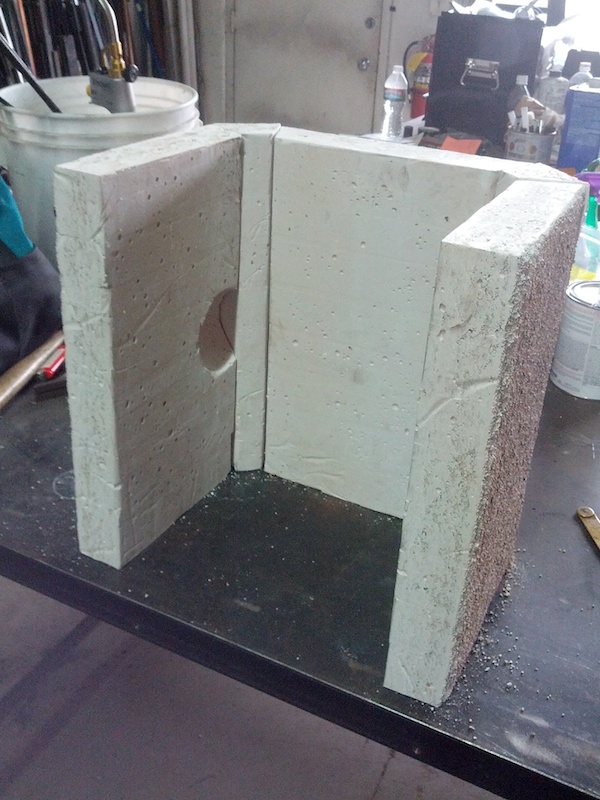
The cured pieces fit together fairly well:
However, actually fitting them in the forge was more difficult. I had undersized all the pieces but did not account for the heat warping of the sheet metal that made up the outer shell of the forge. Even the undersized pieces where too thick to account for the bowing in of the sheet metal. This took some adjustment with a grinder till everything fit together.
I closed up all the gaps with refractory mortar and am now looking forward to using this for more forge welding.
